This past weekend Laura and I attended the wedding of Mike & Abi Bettle-Shaffer, and the guests were asked to attend in bright colours, bow-ties and hats/fascinators - there was even to be a competition for the best on in each category. Naturally bright colours + hats begged for some LEDs to be added to jazz things up! In order to save you the suspense, here is what we ended up with:
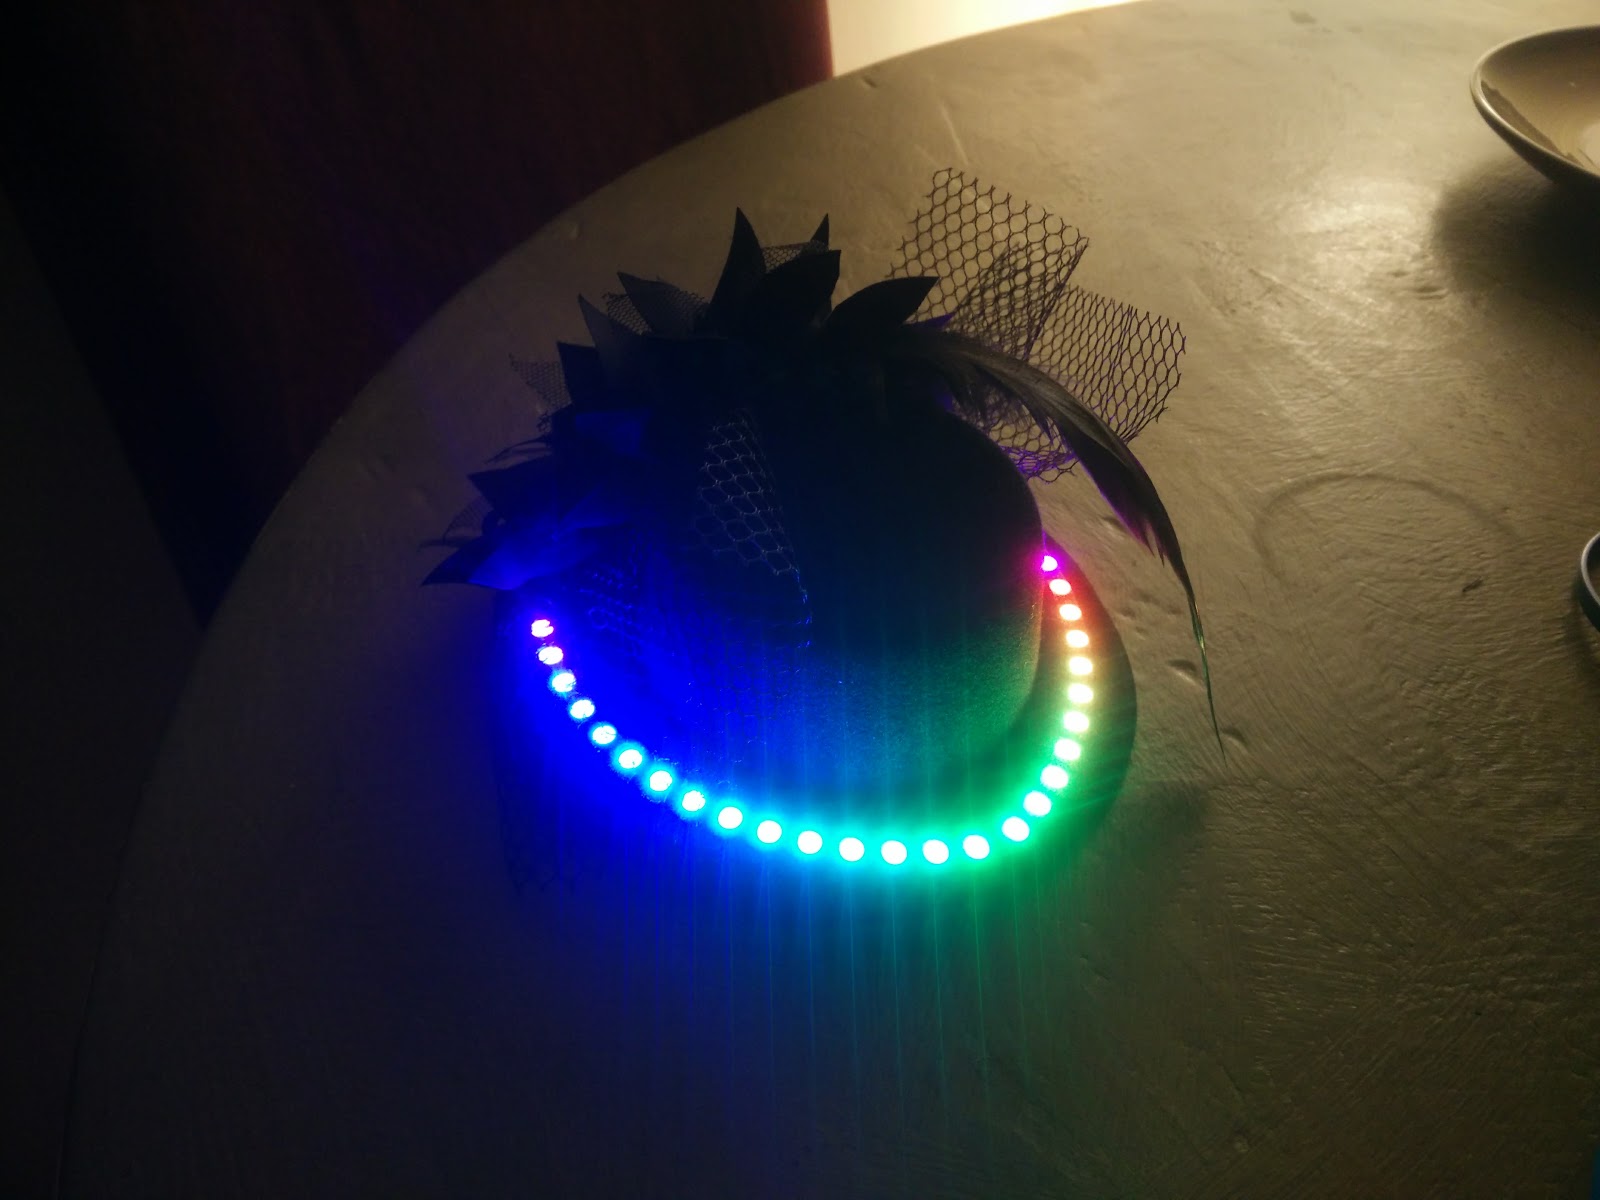 The finished product!
So, how did we create this?
Our first order of business was to work out what kind of fascinator to go for, and then how to add in the electronics. Laura happened upon some inexpensive Fascinator headwear on Amazon which had the dual benefit of looking good, and having a small cavity within the mini-hat in which we could hide all of the required wiring and batteries.
Next up we needed to look out for possible LED options - it looked like adding a ring of LEDs would be the way to go, but we found that the 60 LED ring circuit boards come in 4 pieces, so we massage the shape to fit, and use only as many as we needed to illuminate the visible brim of the hat. Somewhere in the region of 30 LEDs didn’t seem excessive, and as long as we dimmed the individual LEDs a bit, would allow us to run the hat off a modest battery in order to reduce weight. Two battery options presented themselves - either we could run of 3 AA/AAA batteries to get a nominal 4.5v, or we could run off a single Li-ion battery which has a nominal voltage of 3.7 volts, and have the advantage of having a known capacity (Annoyingly Duracell and the like don’t list their mAh capacity with their batteries, only that it lasts longer than other batteries/Zinc Batteries/Competitor’s Brand* [*delete as appropriate]) - not particularly useful. As it happened I had a number of the li-ion batteries, and just needed to acquire a suitable single-cell battery compartment and we could assess the feasibility of that solution.
On to the prototype.
Having decided to add LEDs, the next leap was obviously to control said LEDs via WiFi, so I looked to my stocks of recently-acquired ESP32 boards to provide that capability. I created a basic sketch in the Arduino IDE that used the Adafruit NeoPixel library and shone a single LED. I found that the ESP32 got rather hot - not excessively, but definitely hot to the touch, and was worried that this was both wasting more current than I would like for a battery based hat, but also would be in an enclosed space and hear someone’s head - not great. So, I ended up grabbing a Wemos D1 mini board from one of my many boxes of bits instead, and used that as I knew it ran pretty cool. Here’s the single LED prototype, running of a 3.7v Li-ion battery:
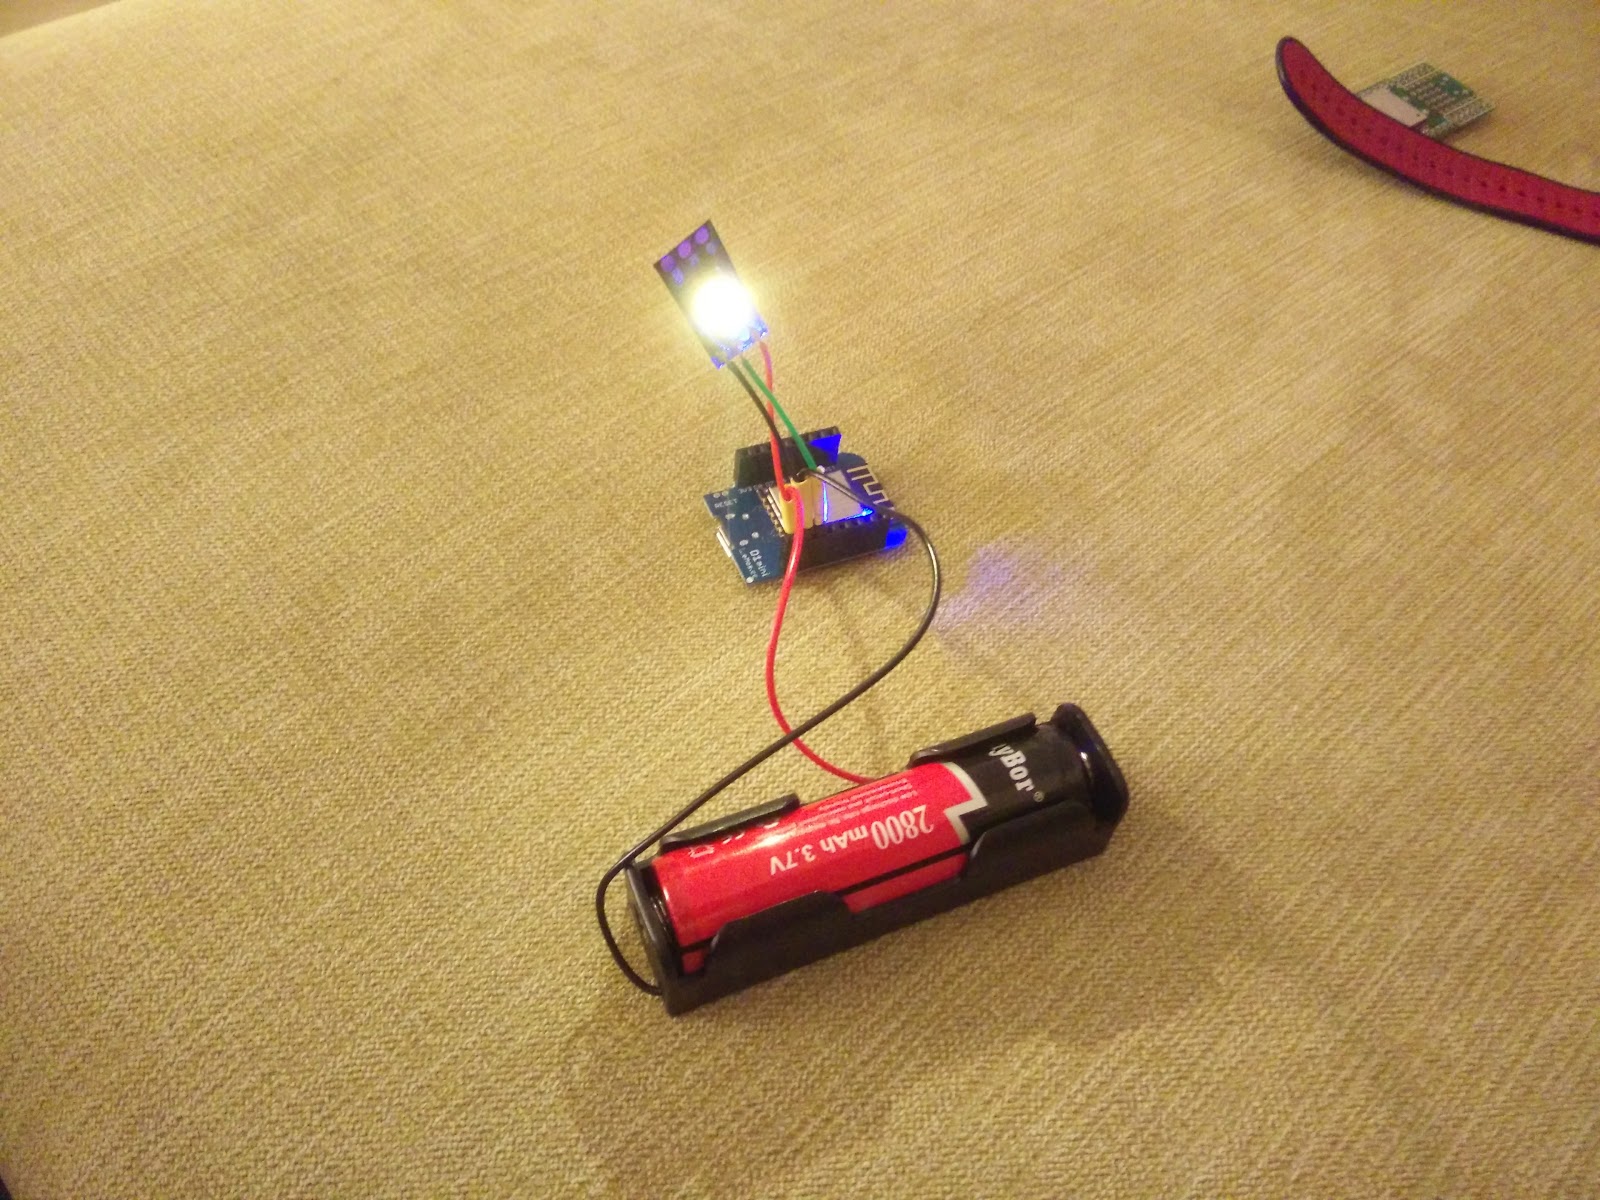 The prototype
What I haven’t mentioned so far is that both the WS2812b RGB LED (Neopixel), and the Wemos board run quite happily off 3.7v. The in-built regulator powered the ESP chip itself at 3.3v, and the LED gets the full battery voltage on its Vcc input - somewhere between 4.2v-ish when fully charged and 3.5v-ish when the battery cut-off circuitry is about to kick in. This happens to work well without the need for a data level-shifting circuit as the 3.3v data out of the ESP board is above the logic high level of the LED even when powered with a fresh battery. Excellent - one less moving part we need to add!
Next up was to add a few more LEDs. We ended up using 2 quarters of the full 60 LED circle, which nicely spanned the visible brim (the rest being taken up by the front bow and other bits of ribbon). Unfortunately the radii didn’t quite exactly match, but the two quarters were easily soldered together to keep the LEDs on the brim all the way round in a sort of ‘gothic arch’ shape:
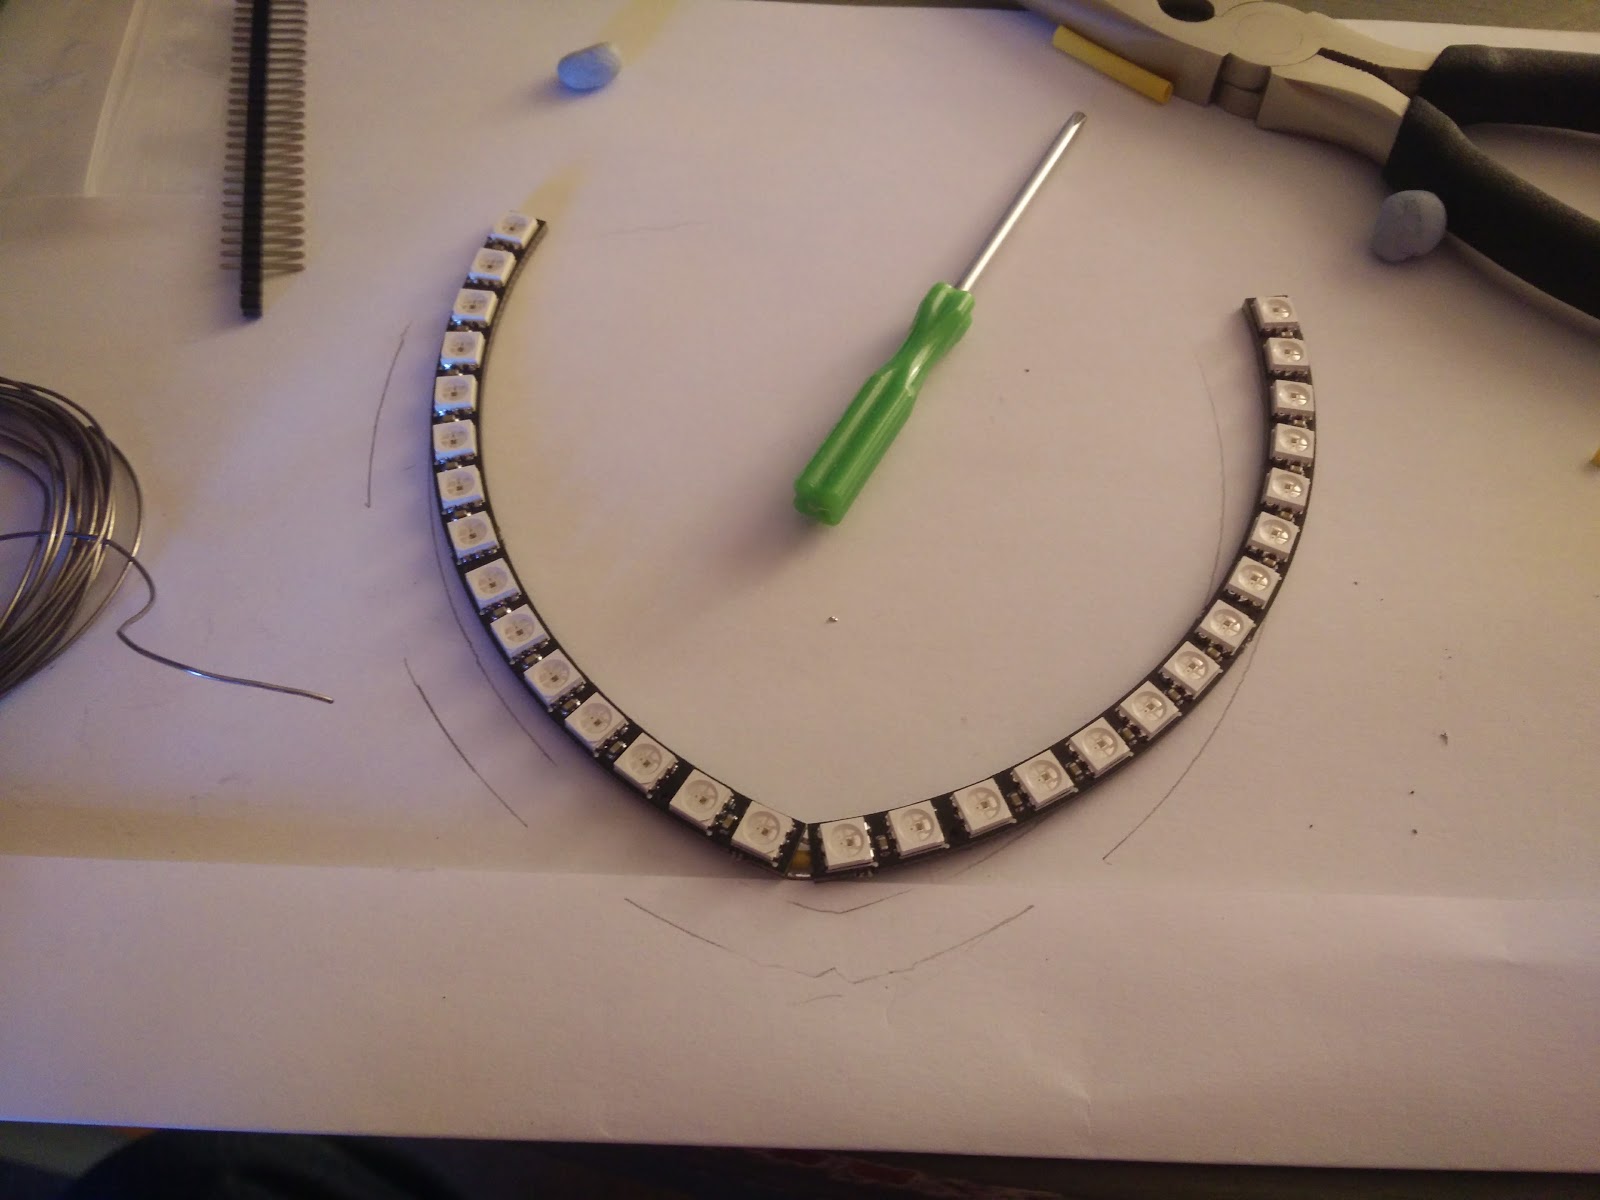 The LEDs, adapted to fit the size of the mini-hat
Next we could sew these LEDs onto the fascinator, and fortunately they had a number of holes in the circuit board that made it easy to thread some cotton through and make a nice secure attachment. Whilst Laura expertly mastered this step, I looked at options to keep the battery securely in the hat, whilst still allowing a battery change if required.
 Parallel processing
After a few ideas we found some velcro in the sewing box, and decided that would provide the small amount of grip needed to keep the battery in (it was already reasonably well wedged in there), with the added advantage that it could also keep the Wemos board securely underneath too:
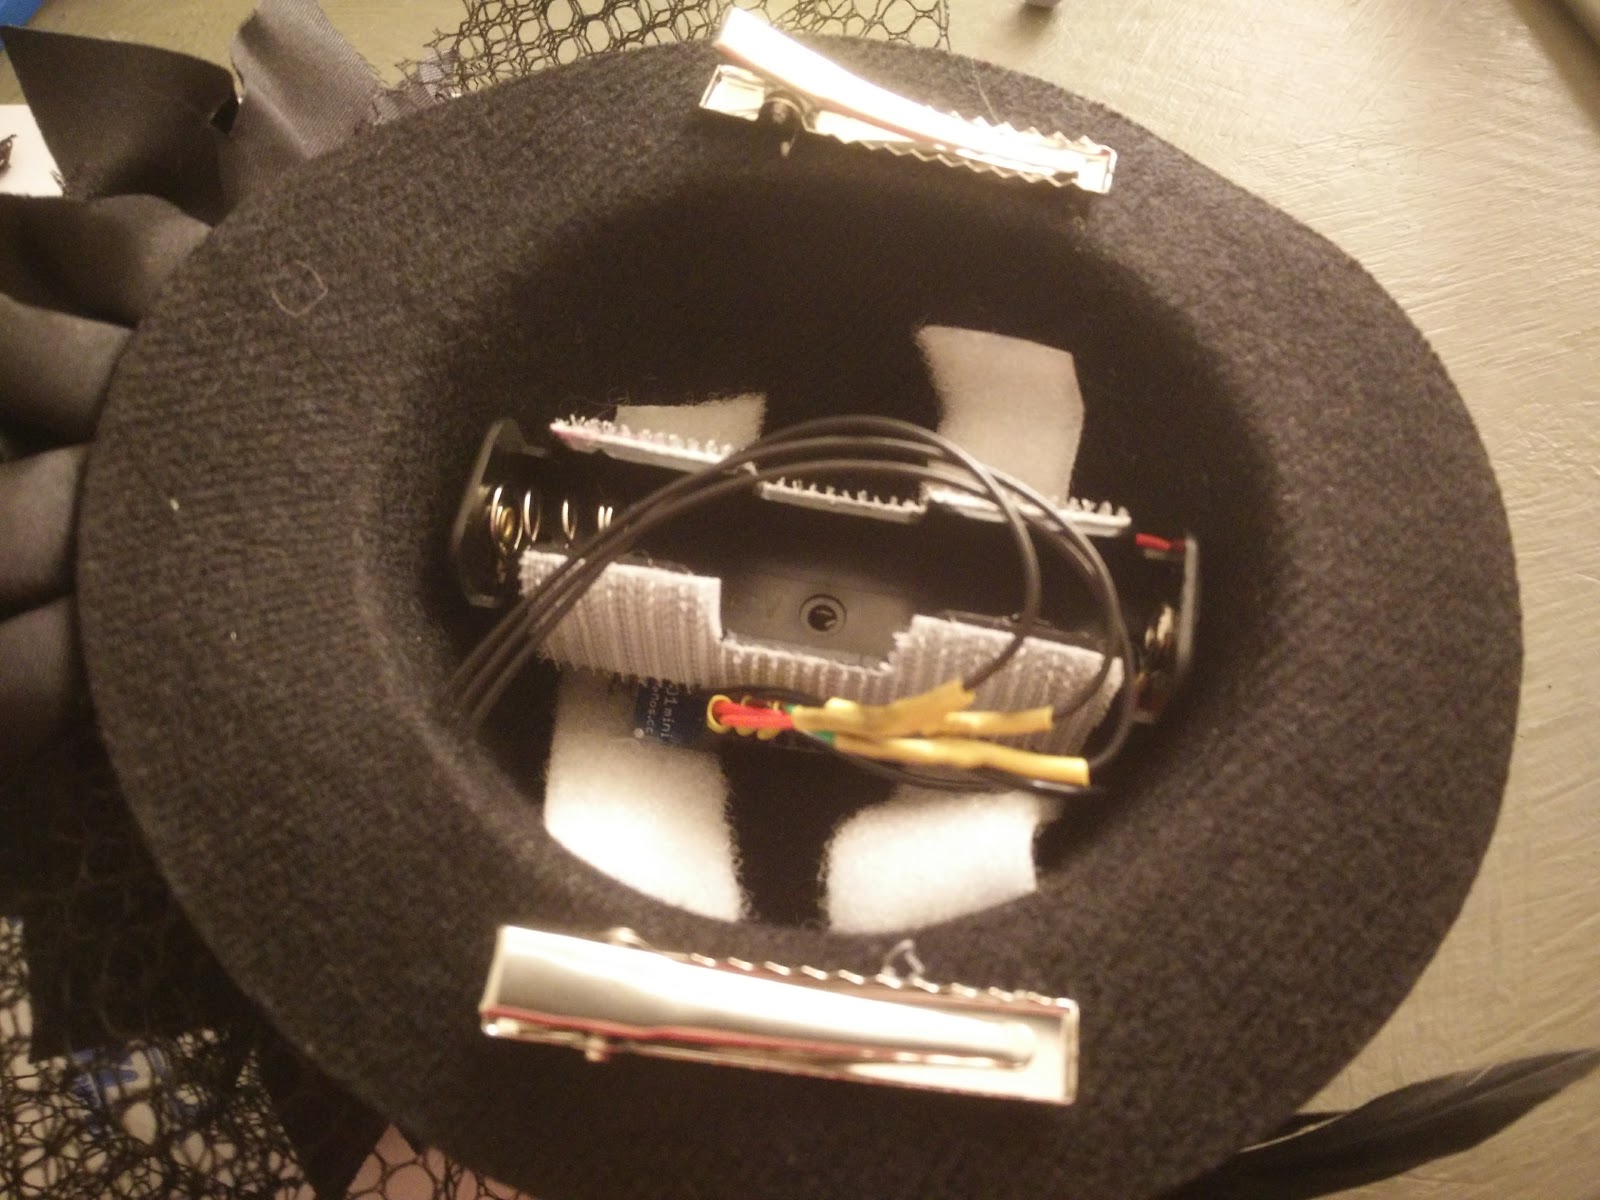 Battery securing technology
By this point things were looking very snazzy. Three black wires were added to take the power and data signal from the Wemos board to the input of the LED strip, and these turned out to be almost entirely hidden from sight by the main bow - excellent!
For the code, we used the captive portal sample from the ESP8266 library to provide an easy way to bring up a webpage - and combined this with the rainbow code from the NeoPixel strand-test example to start up the LEDs in a pleasing fading pattern
The options we ended up giving users of the web interface was to turn the LEDs on/off, and set the brightness from dim, bright, full, or max (if you really wanted to be blinded).
And here is Laura modelling the hat at the wedding:
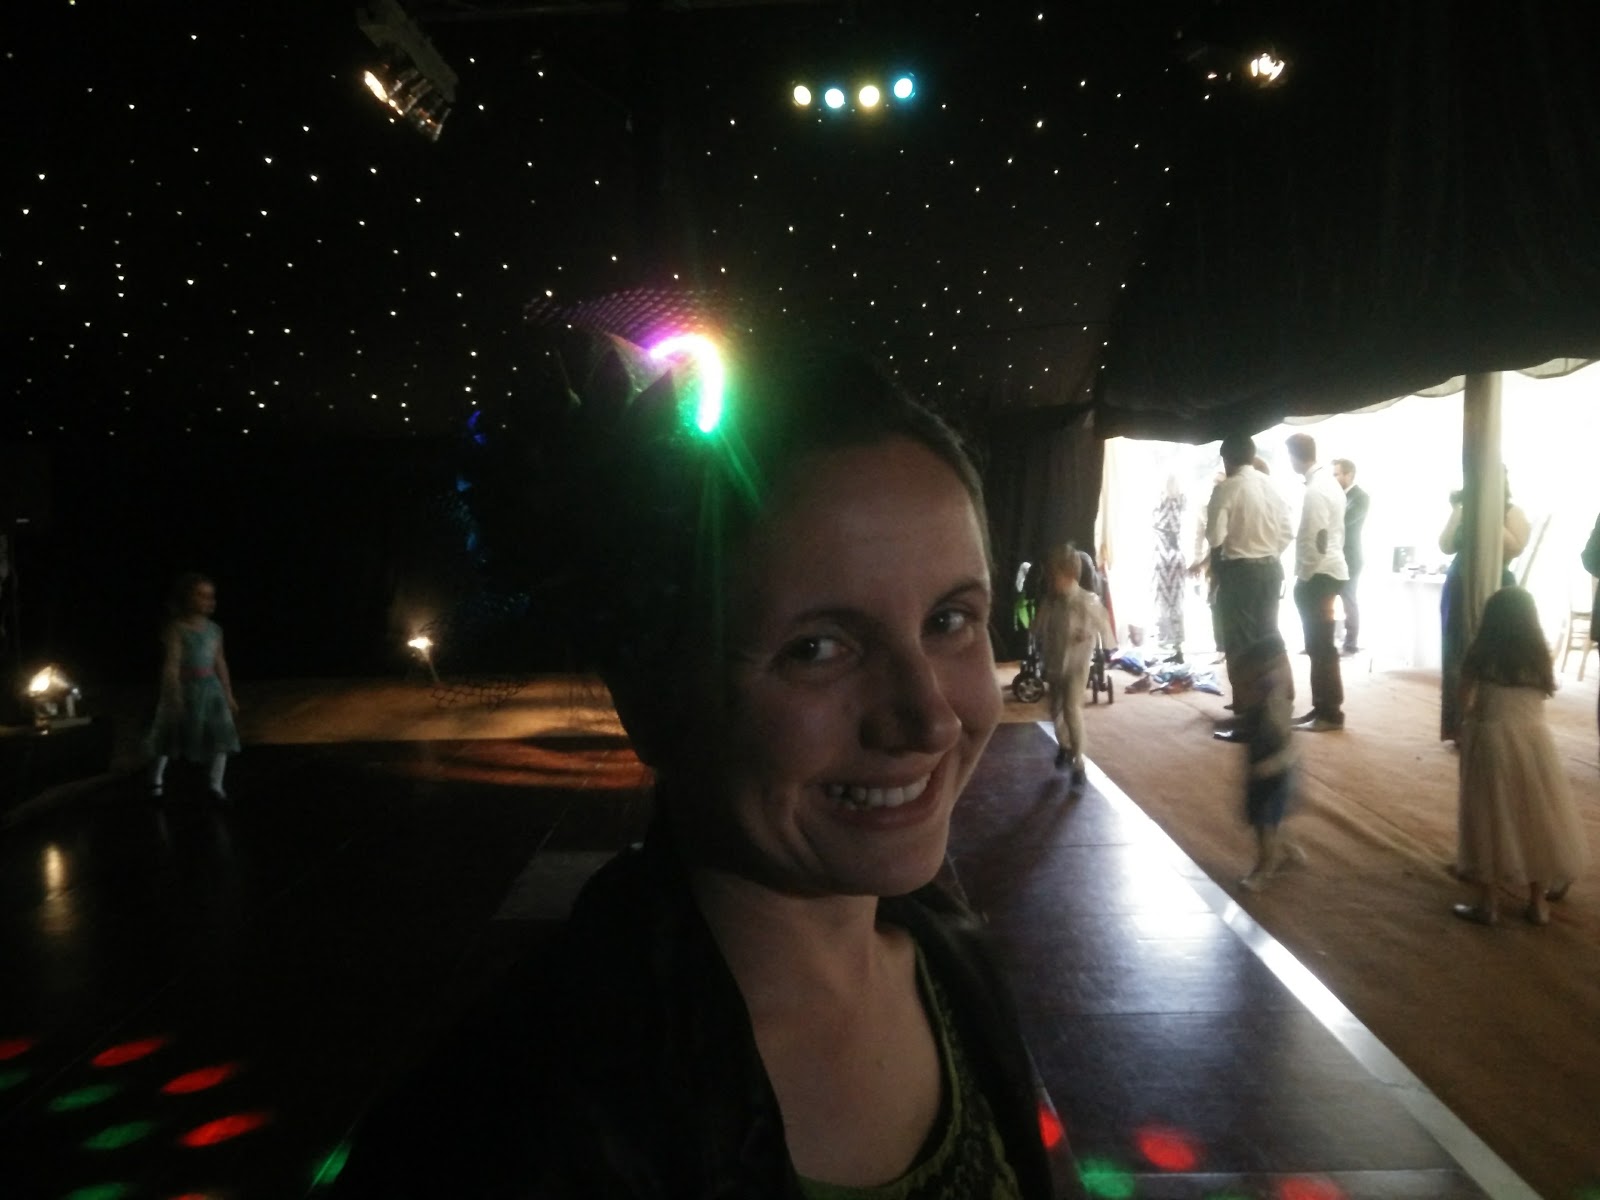 The finished hat
If anyone wants to see it, the code is in github.